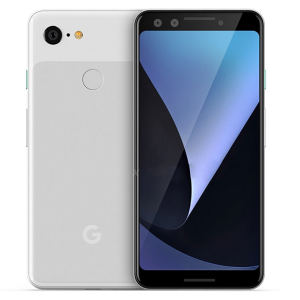
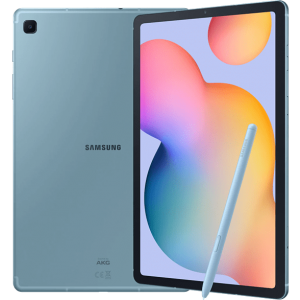
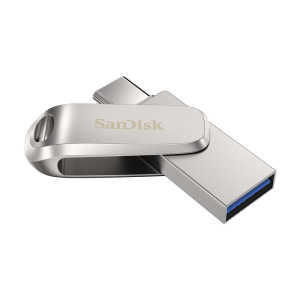
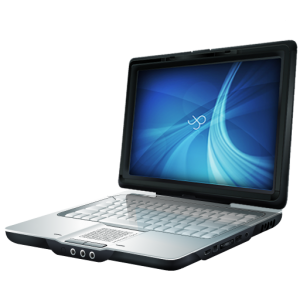
Not only can you charge your phone's battery by connecting it to a USB port on your computer, but you can establish file transfer. The ability to transfer files between your PC or laptop and Android device can be very valuable, especially if you are setting up your phone and want to migrate photos, contacts, and other personal files. On most Linux systems, this process is as simple as connecting the phone to the computer with a USB cable and enabling File Transfer on the phone. However, anyone using Windows PC may have a few more steps before this works.
In this guide we'll discuss how to set up a Windows PC to recognize an Android device in order to view the file structure and transfer files between the two.
Enable File Transfer from Android Device
Follow these steps to enable file transfer on your Android device:
- Connect your Android device to a computer using a USB cable
- On your Android device, swipe down from the top to view notifications
- You should see a notification on the device called Charging this device via USB, and below it says Tap for more options. Tap this notification bubble to open USB Preferences setting
- Look for the section Use USB for and tap File Transfer
CAUTION: Some USB cables are for charging only. If you did not see the Charging this device via USB bubble, try a different USB cable.
The device is now ready to share files with your computer.
MTP and PTP
It's important to understand how Windows is set up to interact with an Android device. There are two modes (or device drivers): Media Transfer Protocol (MTP) and Picture Transfer Protocol (PTP). A properly installed MTP driver is what we want to enable to transfer files.
Steps to Enable MTP Driver
It's possible (but unlikely) that connecting your Android to a Windows PC will just work. Follow the instructions below that apply to Windows 10. If you have Windows 11 or an older version, the steps should be similar.
- Open Device Manager - The easiest way to do this is type Device Manager in the search box on the task bar, then select it from the menu
- In the list of devices, look for the entry that best describes your device (i.e. <Brand name> Android Device, or Portable devices, or something similar)
- Right click the name and select Update driver software
- Select Manually Install a driver or Browse my computer for driver software, whichever is applicable
- Select Let me pick from a list of device drivers on my computer
- Scroll through the list until you see Mobile devices, Android phone, Android USB devices or something similar, and select it
- From the second list of drivers choose MTB USB device
SUCCESS! Your Android device will now appear in Windows File Explorer as a separate device.
Copying Files Between PC and Phone
- Open Windows File Explorer
- Locate the list of devices in the left menu and click on the Android device name (i.e. Pixel 4 XL)
- A folder will appear in the right column called Internal shared storage. Double click the folder to open its contents
- Navigate to the file(s) you want to copy, select the files, and move/copy between your Android device and Windows PC
Android Device Folder Structure
The list of folders on your Android device include:
- Alarms
- Android
- Audiobooks
- DCIM (photos taken directly with your phone's camera will be stored here)
- Documents
- Download (this is the default folder when downloading files from the phone's web browser)
- Movies (video files will be saved to this folder)
- Music
- Notifications
- Pictures (screenshots, wallpaper, and other galleries will store images in this folder)
- Podcasts
- Recordings (audio and call recordings generated on your phone will be stored here)
- Ringtones (drop audio files here if you want custom ring tones)
Additional Troubleshooting Steps
If performing the above steps did not solve the problem, make sure the following is true (these steps are usually not required).
- Be sure to use a USB cable that allows data transfer and not just charging. Some cables provide power charging only. Switch cables and test if necessary.
- Check Windows File Manager setting and ensure show new external drive when connected is enabled
- On the phone, go to Settings app and search "Restrict USB". Make sure it is set to one of the Allow new USB gadgets...
- Also in Settings app > Connected devices > USB; make sure it is set to Controlled by This device
- Finally, ensure USB Debugging is disabled in Developer options
Conclusion
Now that your Windows PC recognizes your Android device, this function can be invaluable when you need to move large amounts of photos, videos, and other personal files.

